How Mockup Studio works.
A calm, guided flow that takes you from a blank garment to a print-ready mockup in minutes. Every step is designed to reduce guesswork and production errors.
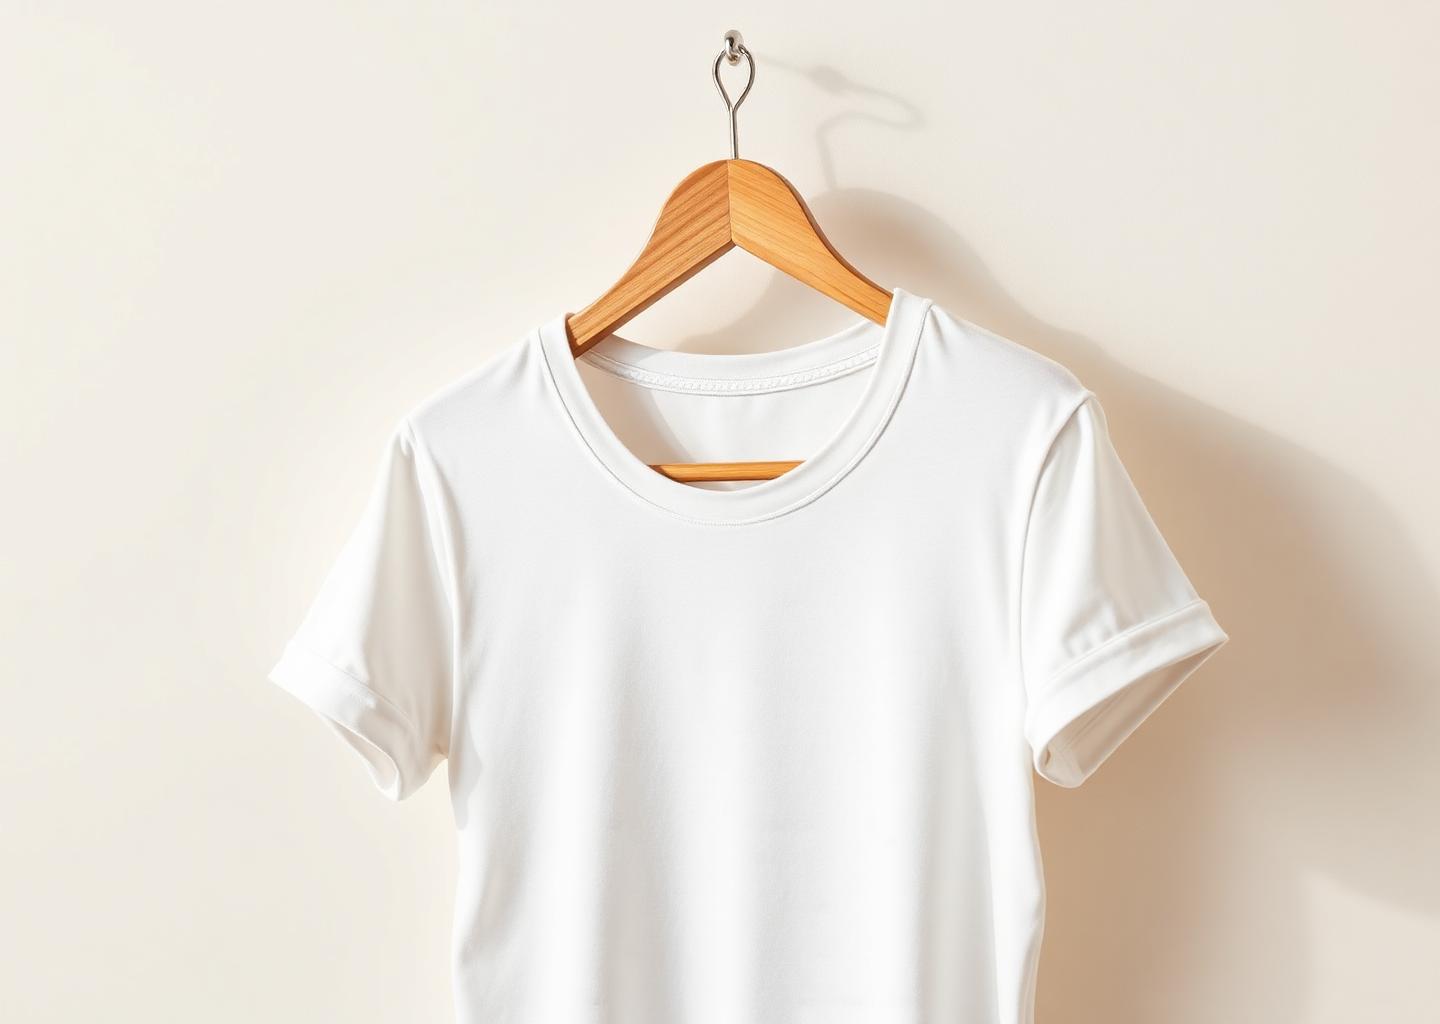
Choose your product
Browse the catalogue of tees, hoodies, sweatshirts, caps, and totes. Pick a colour variant and jump straight into the studio with your selection locked in.
Upload your design
Drop a PNG, JPG, or SVG onto the canvas. High-resolution artwork gives the best print quality — the studio will let you know when it needs more pixels.
Position and resize
Drag, scale, and rotate your artwork inside the print zone. Snap guides and safe-area overlays keep your placement production-ready.
Smart print sizing
Print size is detected automatically from your artwork's on-garment dimensions. No dropdowns to fiddle with — pricing updates live as you resize.
Quality assistant
The built-in Print Quality Assistant checks resolution, contrast, and placement, warning you about issues before checkout so nothing surprises you in production.
Review and order
Preview the final mockup, confirm quantities and sizes, and place your order. Your projects are saved so you can revisit or reorder any time.
Ready to try it?
Open the studio and drop in your first design — no account required to start.